
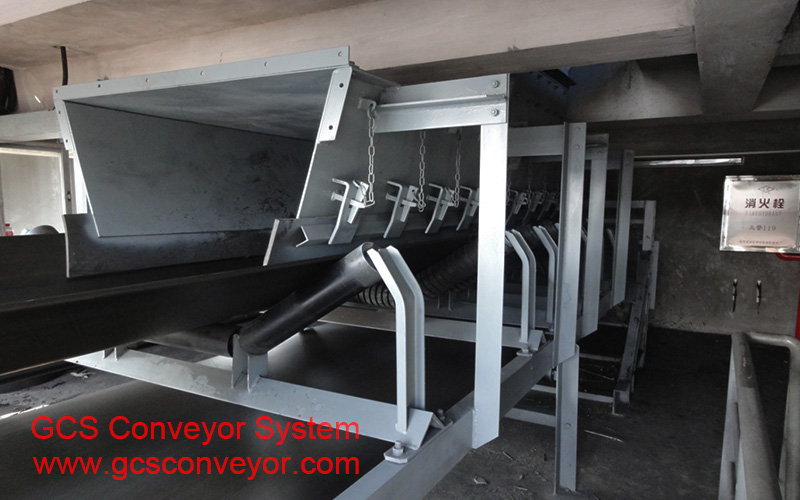
Installation steps of belt conveyor and matters needing attention
At present, belt conveyor is widely used in mining, metallurgy, coal, and other industries, because their installation accuracy is not as high as precision equipment such as machine tools and large motors, so some users will choose to do it themselves. However, the installation of the belt conveyor is not without accuracy requirements, once there is a problem, it will bring unnecessary trouble to the subsequent commissioning and acceptance work, and it is also easy to cause accidents such as tape deviation in production. The installation of the belt conveyor can be roughly divided into the following steps.
01
Preparation before installation
First, be familiar with the drawing. By looking at the drawings, understand the structure of the equipment, installation form, component and quantity of components, performance parameters, and other important information. Then be familiar with the important installation dimensions and technical requirements on the drawings. If there are no special installation requirements, the general technical requirements of the belt conveyor are:
(1) The center line of the frame and the longitudinal center line should be coincident with the deviation of not more than 2mm.
(2) The straightness deviation of the center line of the frame should not be greater than 5mm within any 25m length.
(3) The verticality deviation of the rack legs to the ground should not be greater than 2 / 1000.
(4) The allowable deviation of the spacing of the intermediate frame is plus or minus 1.5mm, and the height difference should not be greater than 2 / 1000 of the pitch.
(5) The horizontal centerline of the drum and the longitudinal centerline should coincide, and the deviation should not be greater than 2mm.
(6) The vertical deviation between the roller axis and the longitudinal center line of the conveyor should not be greater than 2 / 1000, and the horizontal deviation should not exceed 1 / 1000.
02
Installation steps of equipment
Whether a belt conveyor can meet the design and installation requirements and operate normally and smoothly depends mainly on the installation accuracy of the driving device, the drum, and the tail wheel. Whether the center of the belt conveyor bracket coincides with the center line of the drive device and the tail wheel, so the setting out during installation is particularly important.
(1) Release
We can use the theodolite to mark between the nose (drive) and the tail (tail wheel), Then the ink bucket is used to make the center line between the nose and the tail become a straight line. This method can ensure higher installation accuracy.
(2) Installation of driving devices
The drive device is mainly composed of a motor, reducer, drive drum, bracket, and other parts.
First of all, we put the drive drum and bracket assembly, placed on the embedded plate, embedded plate and bracket placed between the steel plate, leveling with the level, to ensure that the level of the four points of the bracket is less than or equal to 0.5mm.
Then, find out the middle of the drive roller, put the line on the middle line, and adjust the longitudinal and transverse middle line of the driving roller to coincide with the basic center line.
When adjusting the elevation of the driving drum, it is also necessary to reserve a certain margin for the adjustment of the motor and reducer elevation. Since the connection of the motor and the reducer has been adjusted on the bracket during the manufacture of the equipment, our task is to find the right, level, and ensure the coaxial degree between the reducer and the drive drum.
When adjusting, the driving drum is taken as the basis, because the connection between the reducer and the driving roller is a nylon rod elastic connection, the accuracy of the coaxial degree can be appropriately relaxed, and the radial direction is less than or equal to 0.2mm, the end face is not more than 2 / 1000.
(3) Installation of the tail pulley
The tail pulley is composed of two parts, the bracket, and the drum, and the adjustment step is the same as the driving drum.
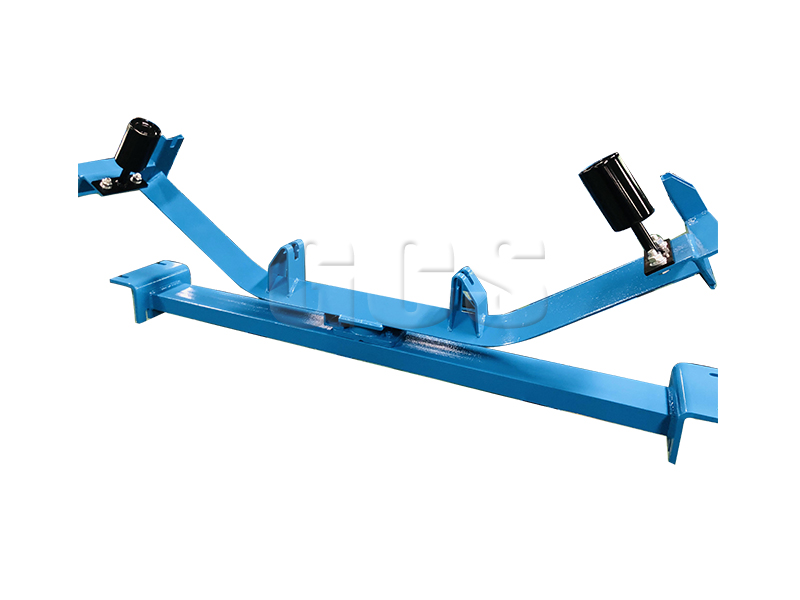
(4) Installation of supporting legs, an intermediate frame, idler bracket, and idler
Most of the supporting legs of the belt machine are H-shaped, and their length and width vary according to the length and breadth of the belts, the amount of belt transportation, etc.
Below, we take the width of a 1500mm leg as an example, the specific operation method is as follows:
First, measure the center line of the width direction and make a mark.
2 Put the outrigger on the embedded board on the foundation and use the line to drop the vertical line so that the center line of the width direction of the leg coincides with the center of the foundation.
Make a mark at any point on the center line of the foundation (generally within 1000mm), According to the isosceles triangle principle, when the two dimensions are equal, the legs are aligned.
4 welded legs, you can install the middle frame, it is made of 10 or 12 channel steel production, in the channel width direction drilled with a diameter of 12 or 16mm row of holes, is used to connect the roller support. The connection form of the intermediate frame and the supporting leg is welded, and the level meter is used to measure the installation. In order to ensure the levelness and parallelism of the middle frame, the two channels in the direction of parallelism, the upper row of holes to use the diagonal line measurement method for symmetry to find the correct, to ensure that the roller support, up the heart of the support for the smooth installation.
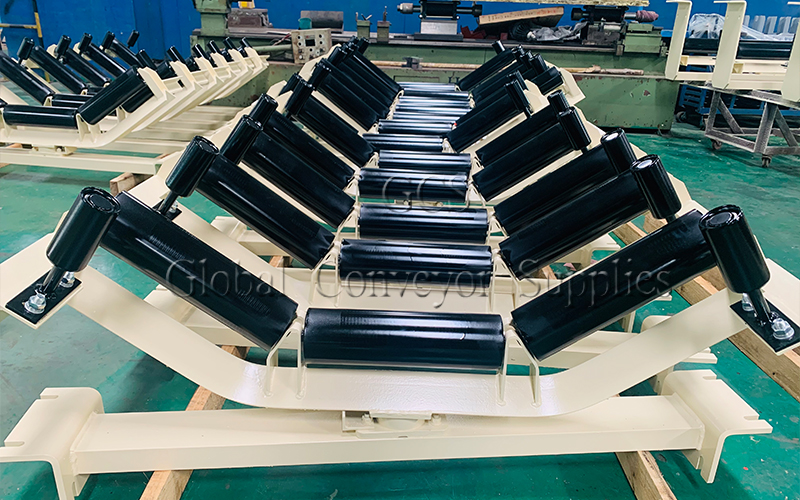
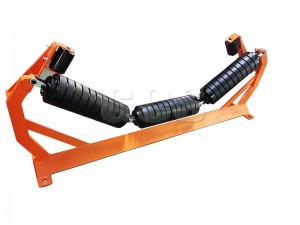
The roller bracket is installed on the middle frame, connected by bolts, and the roller is mounted on the bracket. It should be noted that there are four groups of rubber idlers at the bottom of the blanking mouth, which play a buffer and shock absorption role.
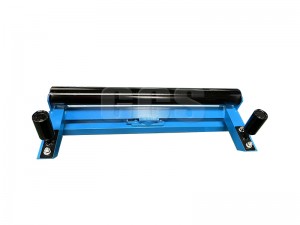
Install the lower parallel idler and the lower core idler.
03
Installation requirements for accessories
The installation of accessories must be carried out after the belt is placed on the bracket. Accessories include material guide trough, empty section cleaner, head cleaner, anti-deviation switch, chute, and belt tensioning device.
(1) Chute and guide trough
The chute is arranged on the blanking port, and the lower part is connected with the material guide trough, which is arranged above the tail belt. Ore from the blanking mouth into the chute, and then from the chute into the material guide trough, material guide groove to the ore evenly distributed in the center of the belt, to prevent the ore from splashing.
(2) Sweeper
The empty section sweeper is installed on the belt under the tail of the machine to clean the ore material under the belt.
The head sweeper is installed on the lower part of the head drum to clean the upper belt ore material.
(3) Tension device
The tension device is divided into spiral tension, vertical tension, horizontal car tension, and so on. Screw tension and tail support as a whole, composed of nuts and lead screws, are generally used for short belts. Vertical tension and car tension are used for longer belts.
(4) Installation devices
Safety devices include a head shield, tail shield, pull rope switch, etc. The safety device is installed in the rotating part of the belt machine to protect it.
After the operation of the above methods and steps, and to ensure a certain range of accuracy, through the empty load and load test, and adjusting the belt deviation, you can run smoothly and safely
Related product
Post time: Sep-21-2022